Gutter Replacement
January 23, 2023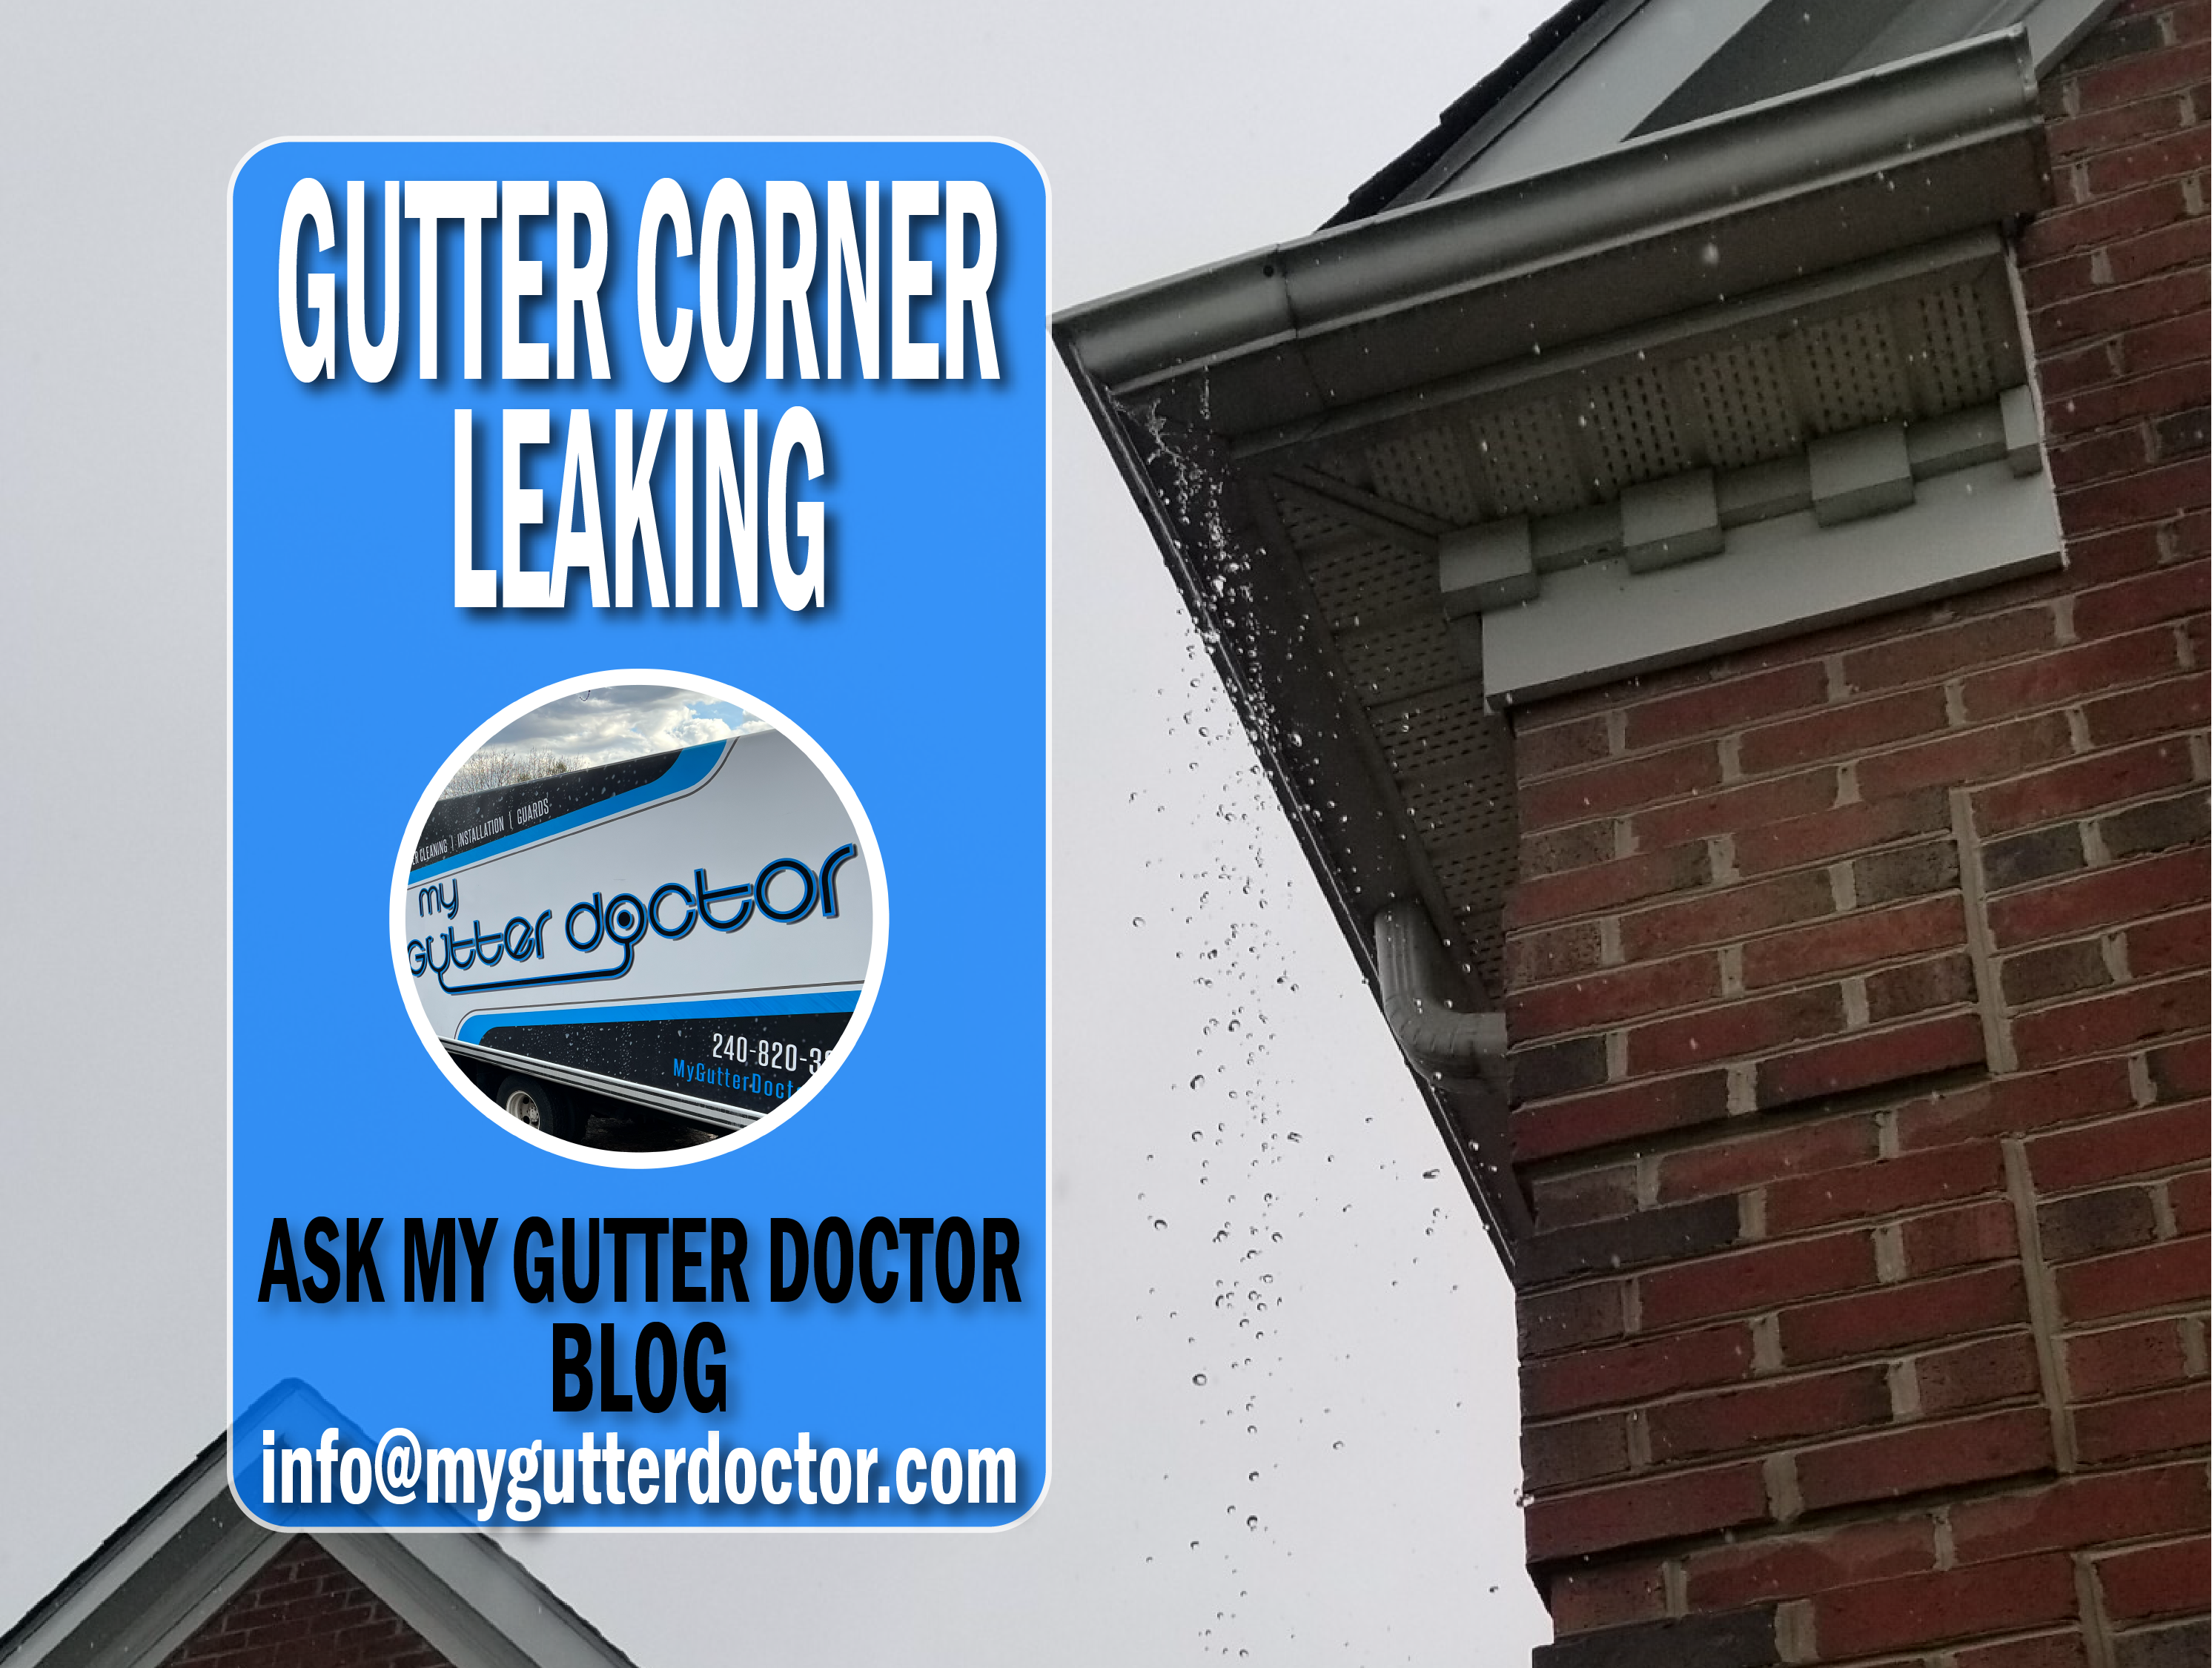
Gutter Corner Leaking : Why Miters Leak & How To Fix
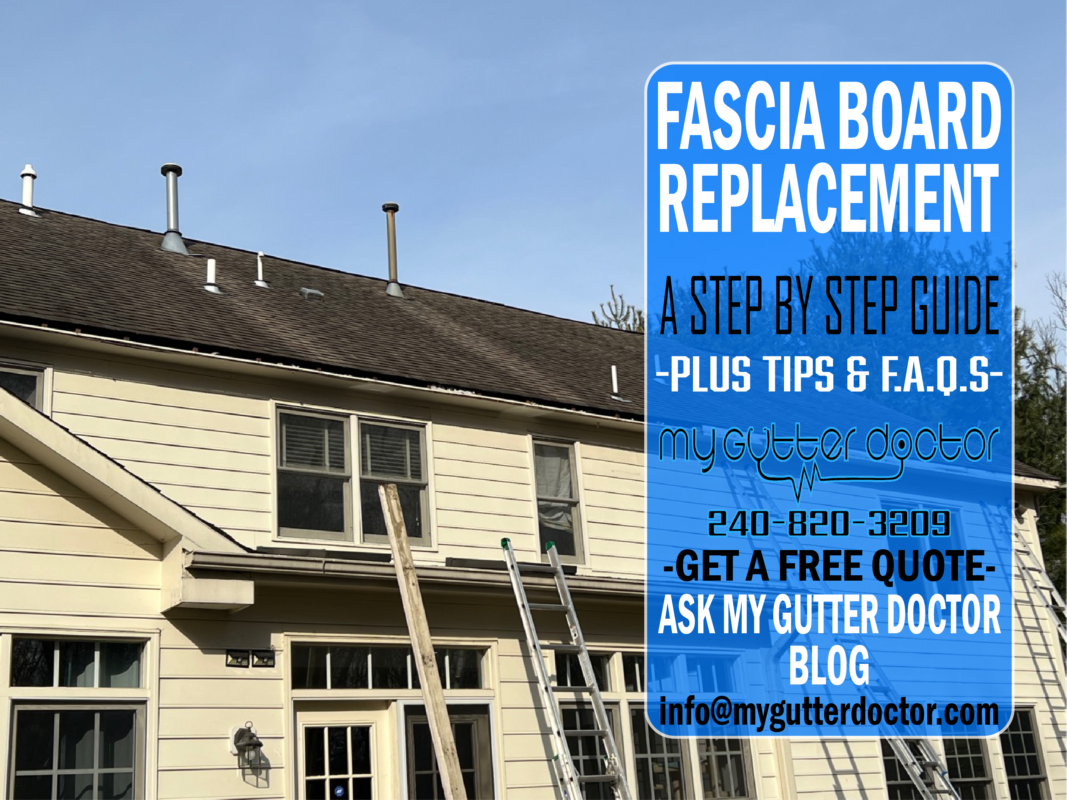
January 27, 2023FASCIA BOARD REPLACEMENT
-A STEP BY STEP GUIDE + TIPS AND F.A.Q.’S-
If you are a local Maryland resident seeking estimates for Fascia Board Replacement, or a homeowner thinking about replacing your own fascia boards, this article was written for you.
In this step-by-step guide My Gutter Doctor walks through the Fascia Board Replacement process. In addition we offer our own professional advice for D.I.Y. people and provide answers to your Frequently Asked Questions.
Whether this pertains to a full home fascia board replacement or only replacing damaged sections, My Gutter Doctor explains it all.
Furthermore, if you would like to skip this article and go straight to our Free Estimate Form, you can CLICK HERE at anytime.
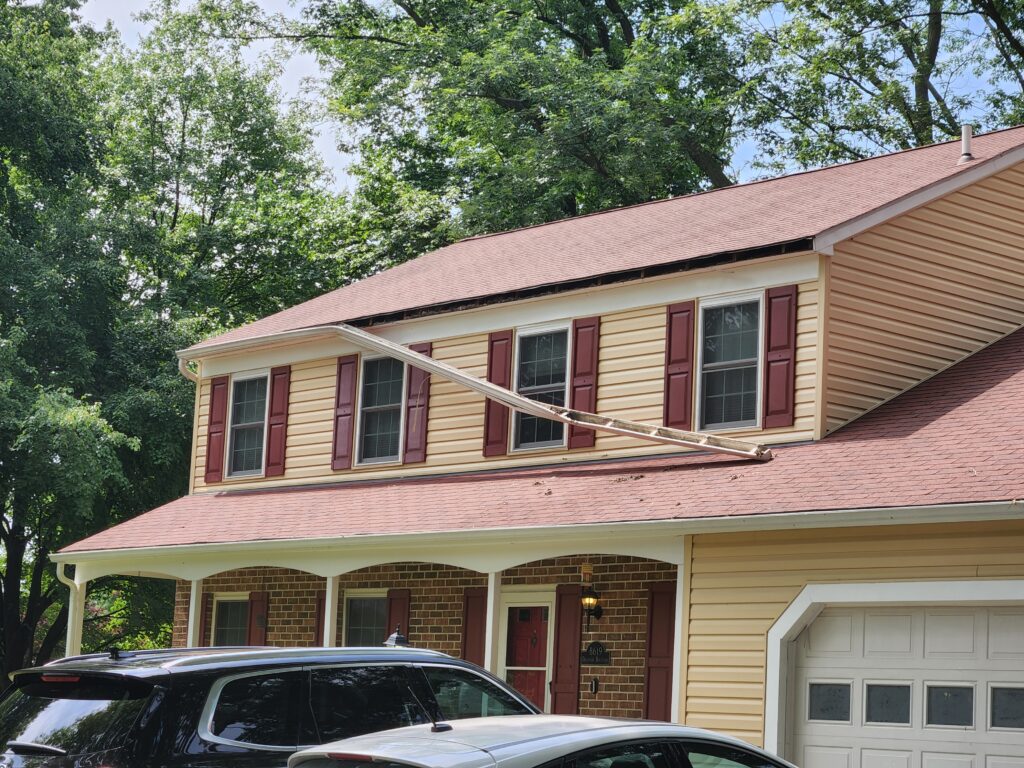
Gutter And Fascia Board Fall Off Of Home
WHAT IS FASCIA BOARD?
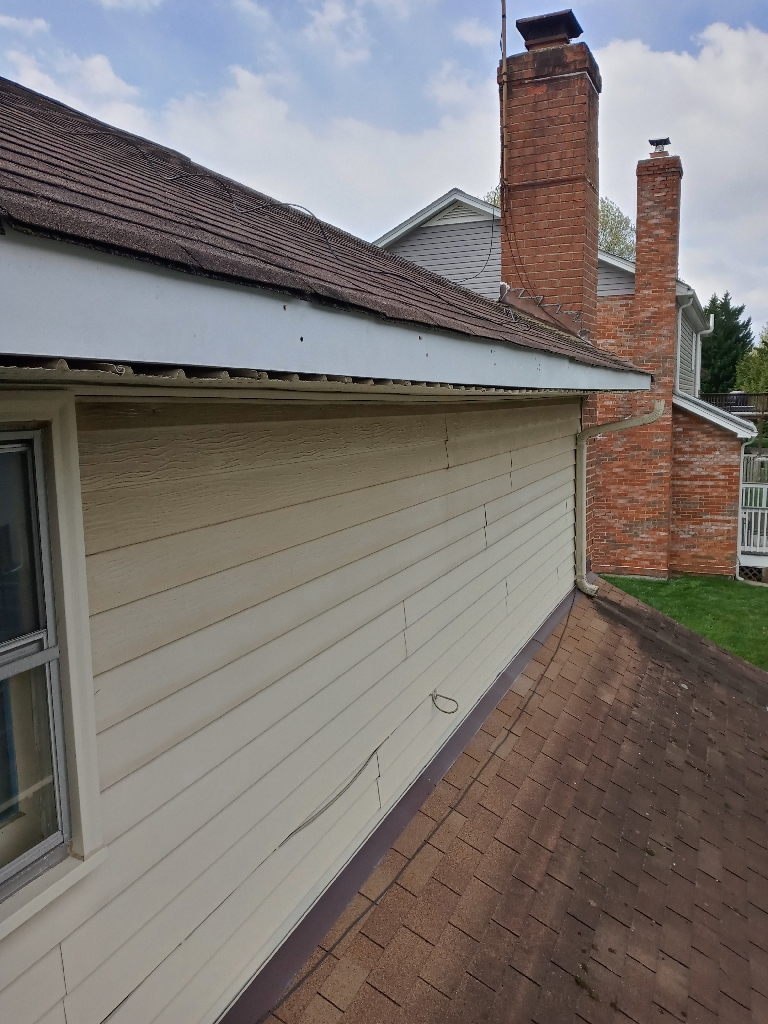
Fascia Boards are a type of trim board used to cover the roofing eave on homes. They help block air and water from going into the roof, provide a finished look to the home, but most importantly fascia boards support the gutter system. Most gutter systems are mounted to fascia boards. In fact, the only time the gutters aren’t mounted to fascia boards is when there are no fascia boards. Otherwise the gutters would need to be hung from the roof from roof straps.
In addition to standard woods such as pine, spruce, cedar, or red wood, fascia boards are also available in vinyl or composite materials. These plastic like materials are rated to last a very long time compared to real wood fascia which are expected to last up to 25-30 years.
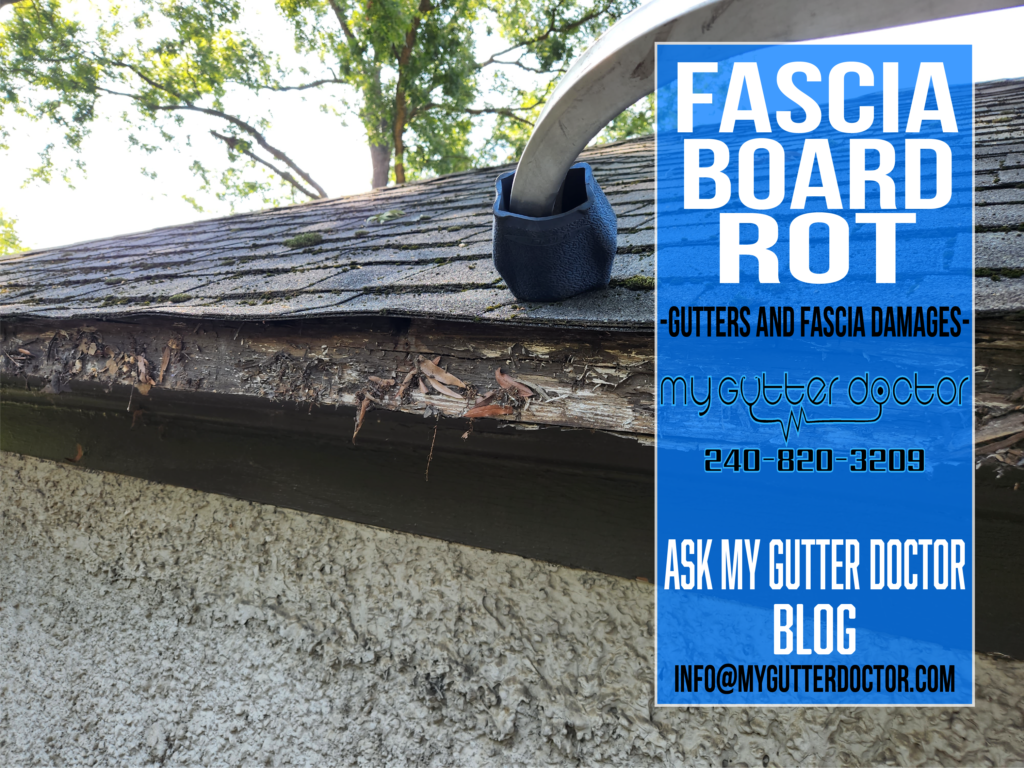
FASCIA BOARD ROT
Exposure to water and moisture causes fascia boards to deteriorate at a much faster pace than if protected. This process is called Fascia Board Rot. Fascia boards are painted using primers and waterproof exterior paint. The paint helps protect the wood from water damages. However once the paint wears down fascia board rot is soon to follow.
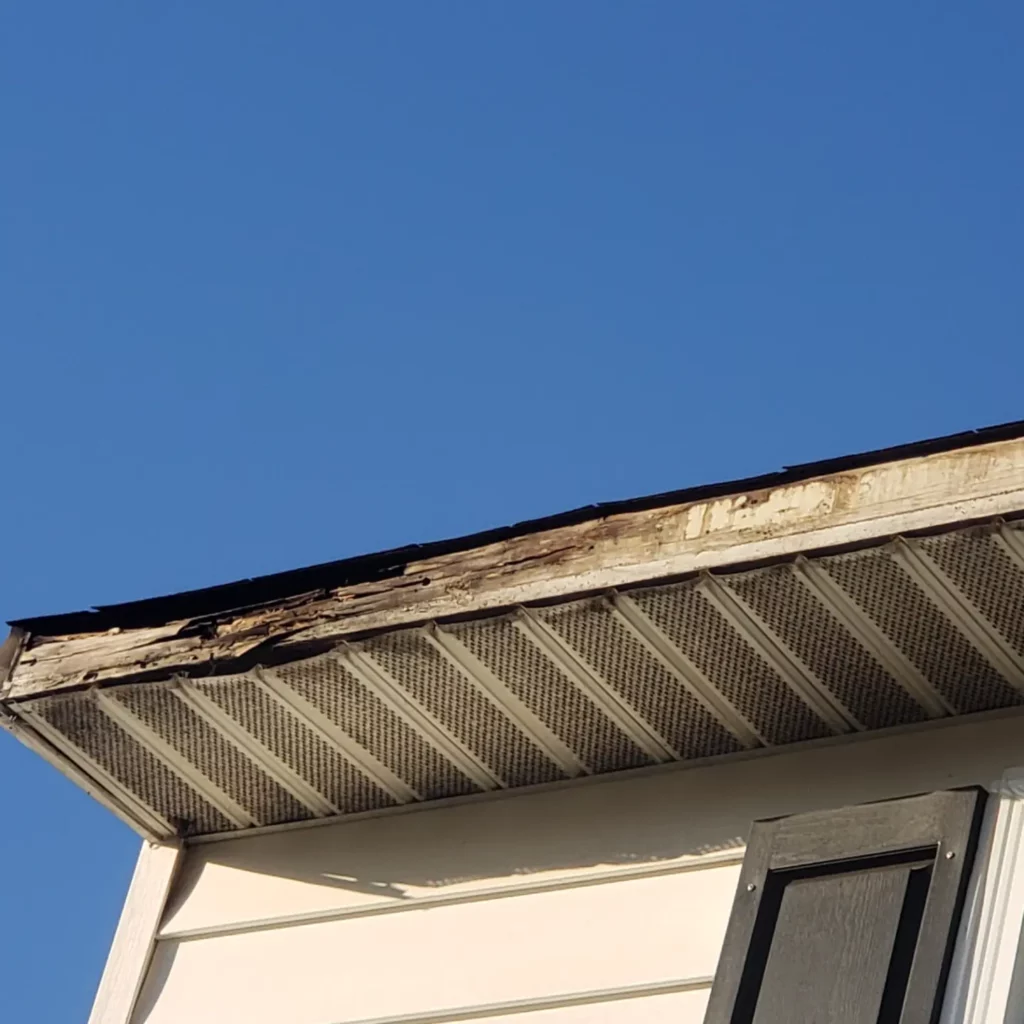
Fascia Board Rot Set In Once The Paint Wears Away
Overtime all fascia boards will eventually start to rot from exposure to the elements. How long they last depends on how well the gutter system is configured and maintained. The number one cause of all fascia board rot is gutter system neglect. Allowing debris to pile up and clog the gutters for months and months causes the gutters to pull loose and go out of pitch. Those issues allow water to contact and damage the fascia boards, therefore they should be taken care of as soon as possible.
For more information on maintaining a proper gutter cleaning schedule CLICK HERE.
MATERIALS NEEDED FOR FASCIA BOARD REPLACEMENT
- New Fascia Boards
- Ladders
- Saw Horses
- Coated Deck Screws
- Power Drill w/T-25 Star Tip + 1/4″ Hex Driver (for gutter removal and re-installation)
- Extension Cords
- Pencil and Square
- Circular Saw
- Hammer and Pry Bar
- Paint and Brushes
- Caulking or Sealant (optional)
- Sawzall (optional)
FASCIA BOARD REPLACEMENT STEPS
Our process for Fascia Board Replacement starts with the initial contact between the customer and the office. Whether through our Free Estimate Form, phone, or by email be sure to let us know of any potential fascia board damages. Since multiple sizes of fascia boards are commonly used on residential homes, we almost always need to stop by the home to confirm the sizes. In addition we also like to examine the area to see the extent of the water damage before providing an estimate.
-EXAMINATION/MEASUREMENTS/ESTIMATE APPROVAL-
As mentioned we need to examine the fascia board at the problem area to find out the extent of the damage. Often times other wood has been affected by the water damages as well, such as the roof decking, roof rafters, or plywood soffit. If there is extensive water damage to either of those areas than your home is going to require more than fascia board replacement. Therefore we prefer know what we are walking into.
Confirming the size of the existing fascia boards is important because the same size will need to be used for the replacement. Use a measuring tape to confirm the size of the fascia board. Standard fascia boards are 1×6″ but they also are common in 1×8″ and 1×10″ sizes. In fact fascia boards are often cut down to smaller sizes, such as 1×4″ for example, to be more aesthetically pleasing.
Once we’ve confirmed the size and lengths of the fascia boards that need to be replaced the office will be able to provide a quote. Once the quote is approved by the customer we are able to officially start the process of fascia board replacement.
-PREP FASCIA BOARDS-
Once the estimate has been approved and the job has been scheduled, our very first step is to prep the fascia boards. Standard fascia boards are called pre-primed pine boards. Meaning that they are pre coated with a primer. The primer is a white undercoat that ensures that any paint that is applied will adhere to the wood properly. Some roofing or gutter companies will install fascia boards directly to the home with only the factory primer layer. However, we take our fascia board prep a little more seriously. We like to add 2-3 coats of waterproof exterior paint to our fascia boards at the shop before taking them out for the fascia board replacement project.
We only supply white exterior paint, typically semi-gloss or hi-gloss, for all wood repair projects. For homes that require alternate colors, we ask that the customer provides the paint. That way we are not responsible for the color matching. When the fascia boards require a different color we will have to pick up the paint from the customer ahead of time so that we can paint the boards in the shop. Otherwise we will need to paint the boards on site which can add extra time waiting for the paint to dry.
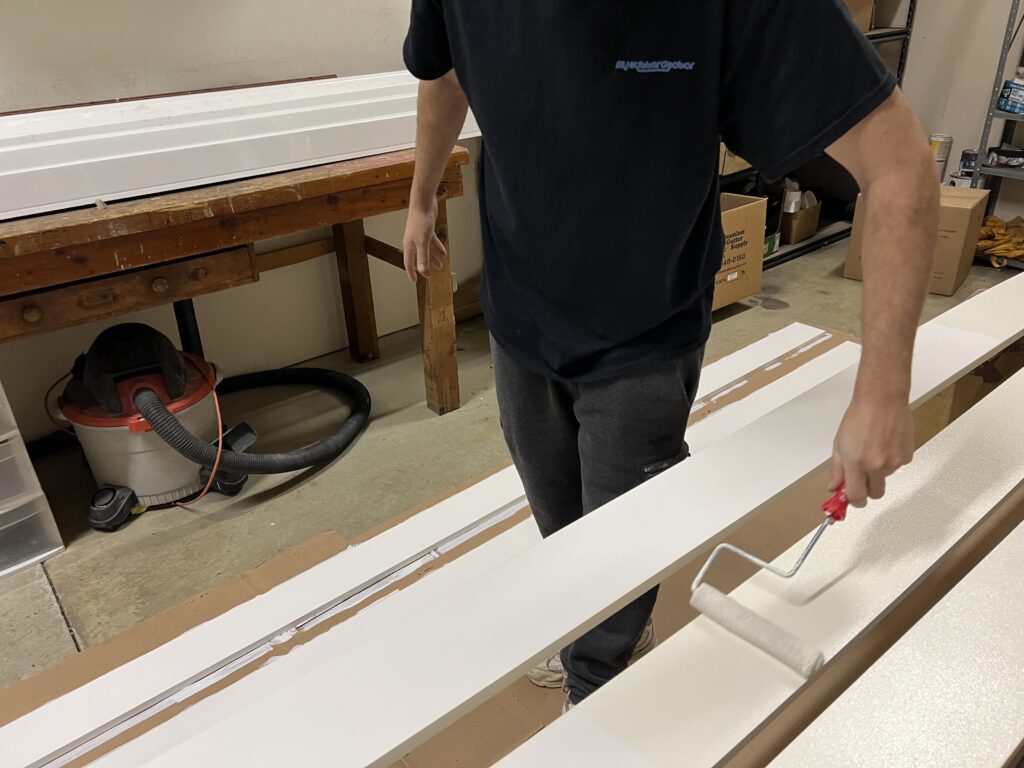
Pre Painting Fascia Boards In The Shop With A Cream Color Provided By Customer
To transport the fascia boards via work trucks we like to stack them with card board strips in between each board, and then plastic wrap them into a bundle. This keeps the paint from taking marks or scratches. Then the boards are secured to the ladders using bungees or straps, preferably over a section that has carboard and plastic wrapped to avoid marking the wood.
-REMOVE ALL EXISTING GUTTERS-
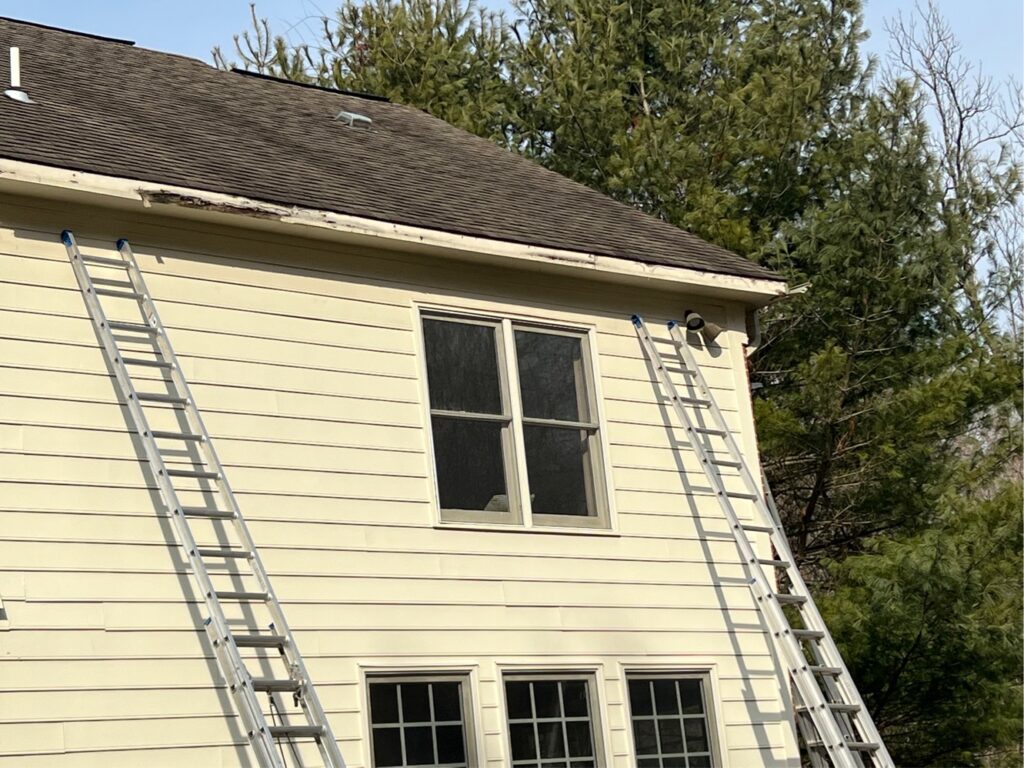
Remove The Gutter System To Be Able To Access The Fascia Board
Once you have arrived on site to the fascia board replacement job, the very first step is going to be to remove the existing gutters. We recommend to leave the downspouts attached to the wall so that the gutters are easy to re-install. The easiest way to do this is to take the top screws out of the downspout where it connects to the gutter outlet on the bottom of the gutter. From there you are usually able to move the downspout elbow out of the way slightly so that it is not in the way.
Since gutters are mounted using various forms of support such as gutter spikes, gutter hangers, or brackets different tools may be required for the gutter removal. If the same gutters are going to be re-installed after the fascia board replacement, then we recommend to be very careful when removing the gutters. Be sure not to let the gutters bend or twist at any point during this process.
-REMOVE FASCIA BOARDS-
Next up is the actual removal of the fascia boards. Most fascia boards are screwed into the roof rafters using coated deck screws that feature star tip heads. Meaning you will likely need the correct star tip bit to remove the screws from the boards. The most common size star tip driver needed is the t-25. However be sure to have an arsenal of bits because you never know what somebody may have had to use in an emergency. In addition to deck screws we’ve seen everything from sheet metal screws to nails used to install fascia boards. If the boards were installed using nails then a good ole fashioned hammer and prybar will be needed. In fact you should always have a hammer and pry bar available for all wood jobs anyway.
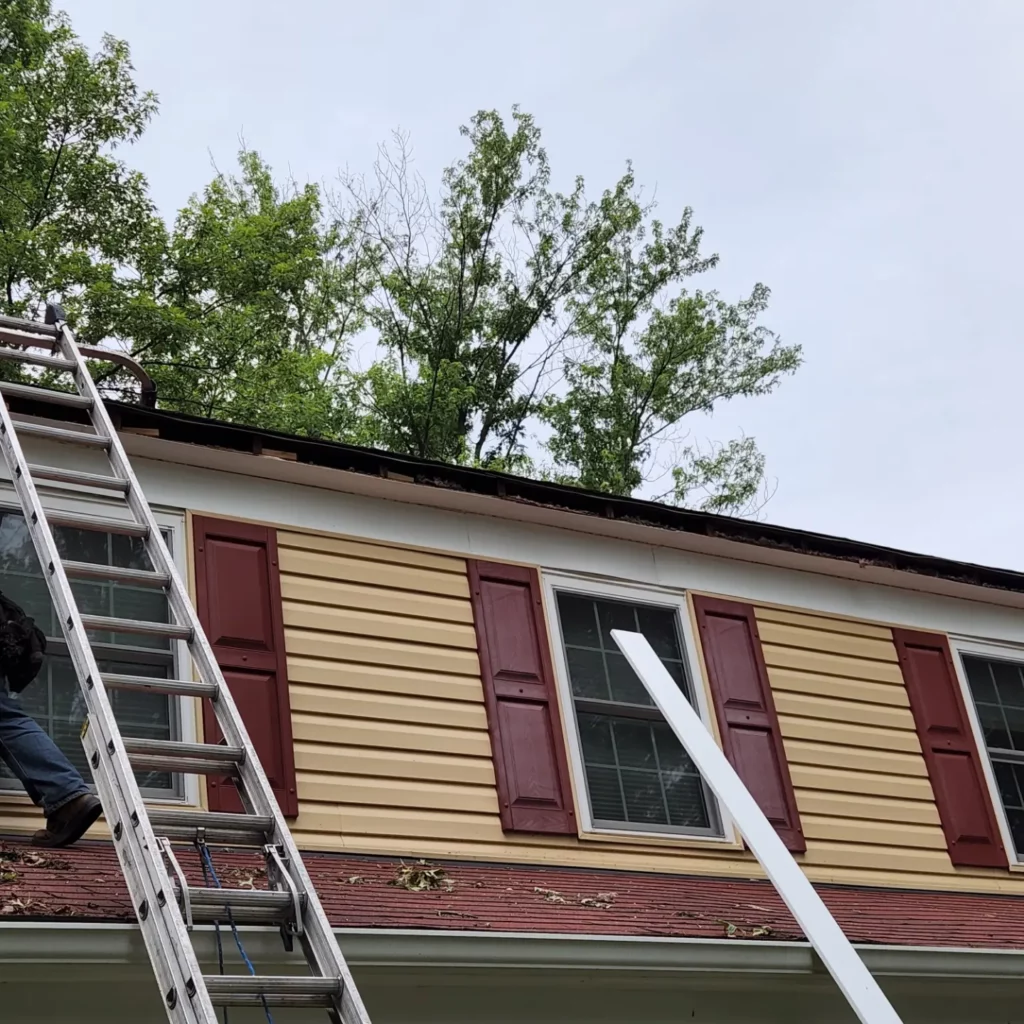
The Fascia Board Has Been Removed From The Roof Rafters
-PREP ROOF RAFTERS-
After removal of the fascia boards it is time to prep roof rafters for the new fascia boards. Nails, screws, debris, or even shrapnel are often sticking out from the rafters and will need to be removed. Be extra careful not to damage the integrity of the rafter boards in any way. In fact it should be noted that rafters are often very soft or touchy, especially in areas where there was fascia board rot. This is because the dampness spreads from the fascia to the rafters as well.
The goal is to be able to remove all nails and screws so the wood is smooth. However this is not always the case. Nails sometimes do not want to come out and will instead need to be nailed in or nailed flat. Do whatever it takes to clean the surfaces of the rafter tails so that you can finally install the first fascia board.
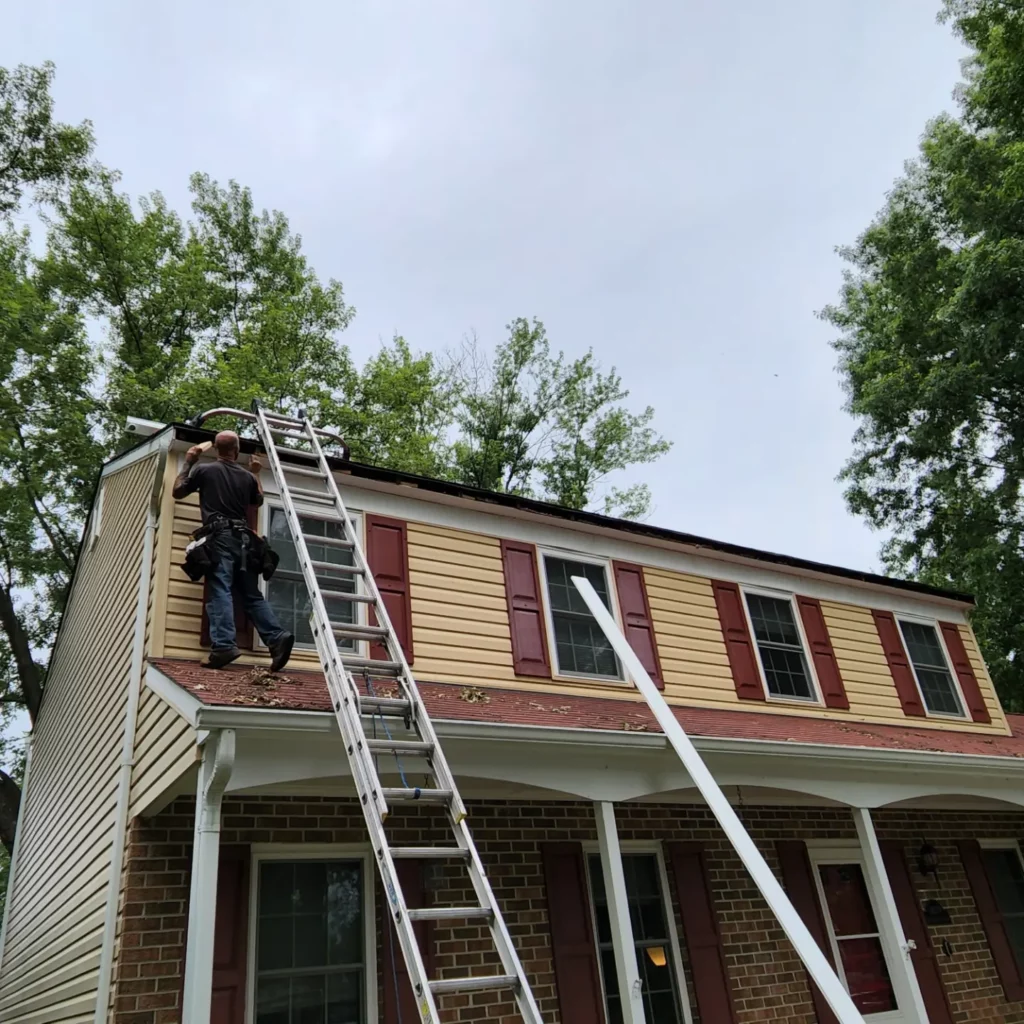
Prepping All Surfaces Before Installing New Fascia Board
-GATHER 1ST BOARD MEASUREMENT-
If you were to pre-cut all of the fascia boards all at once before installing, it could likely end in disaster. For installing fascia boards, it is better to measure, cut, and install one board at a time. Otherwise you will be going back and forth to re-cut multiple extra times and potentially shorting yourself on materials.
Start at either the far left or far right of the home to get your measurement. The first fascia board is to but up against the rake board that finishes up the edge and then go to the furthest rafter it will reach. Since standard boards come in 16 ft. sections, the furthest rafter will likely be around 14 to 16 ft. away. Get the measurement from the edge of the rake to the center point of the roof rafter. Since two fascia boards will need to share the same roof rafter it is important to aim your measurement for the middle of the rafter.
Using a rafter square, mark the fascia board at the desired length and then cut the board using a circular saw. Finally we ae ready to install the 1st board.
-INSTALL FASCIA BOARD-
Start by installing the 1st board to the spot that it was measured for. If you have a helper this part is easy because you can each carry the board up two ladders and center it accordingly. Otherwise if you are working by yourself you will need to carry the board up the ladder holding it by the middle. Once the board is centered to it’s location it needs to be tacked in place by loosely screwing in a wood screw. Next we suggest to mark the fascia board where every rafter is. That way once you start mounting the fascia board you know where there rafter locations are behind the board. Otherwise you will be screwing into air and not biting anything. The standard recommendation is two screws per rafter to ensure that the fascia board is not able to pull loose again.
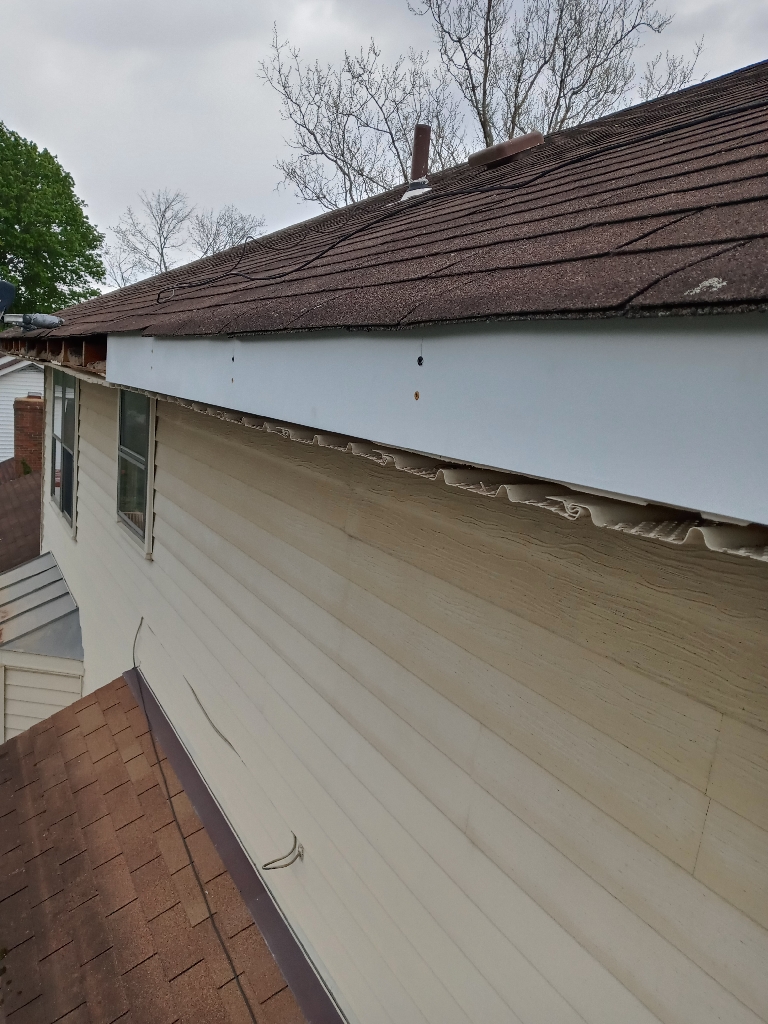
Two Screws Are Required For Each Roof Rafter
Once the 1st board is up it is now time to get the measurement to the next furthest rafter. Repeat the same step from earlier by measuring from the edge of the 1st fascia board to the furthest rafter that is less than 16 ft. Get that measurement and repeat the steps, and then keep going until the fascia board installation is complete.
-RE-INSTALL THE GUTTERS-
Finally once all the fascia boards are installed and sealed it is time to re-install the gutters. (or new gutters) We use our own heavy duty hidden gutter hangers to re-install the gutters. This ensures that the gutters will not come loose again. If the gutters had gutter spikes then you will need to remove those, and add hidden hangers where each gutter spike hole was. For homes that already have hidden hangers we will leave those in place but also add our hangers in between.
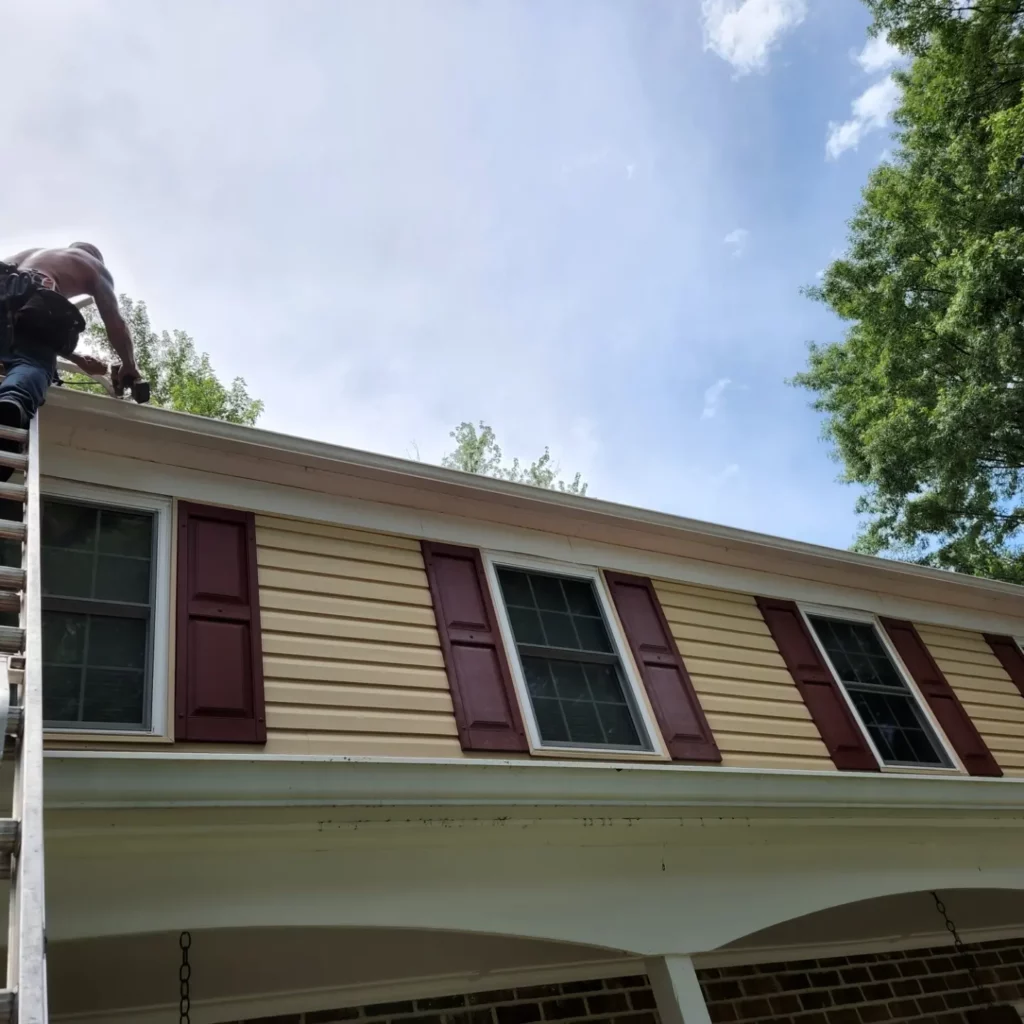
Re-install The Gutters Once The Fascia Board Replacement Is Complete
Re-install the gutters so that they are all sloped towards the downspouts. This ensures that the water is able to drain freely. Otherwise if the gutters are back pitched the water will not drain but overflow. In fact if the gutters are not pitched correctly you may be replacing this fascia board again in a couple years.
WOOD REPAIRS
For more information on Wood Repairs such as Fascia Boards, Rake Boards, Soffit, Fascia Wrap, etc… please visit our Wood Repairs page.
ROOFING REPAIRS
For more information regarding Roofing Repairs such as shingle replacement, deck board replacement, drip edge, pipe collars, ridge vents, etc… please visit our Roofing Repairs page.
BEES IN FASCIA BOARDS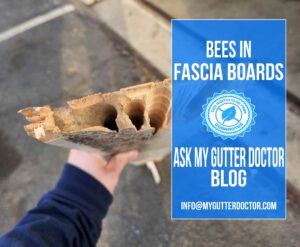
CLICK HERE to check out this related article that tells about this home that had Carpenter Bees in several of their fascia boards.
CHECK OUT OTHER ARTICLES BY MY GUTTER DOCTOR
Gutters Leaking From Behind by My Gutter Doctor
Is Spring Gutter Cleaning Necessary by My Gutter Doctor
Bees In Fascia Boards by My Gutter Doctor
Gutter Replacement by My Gutter Doctor
Box Miters by My Gutter Doctor
Gutter Corners by My Gutter Doctor
When to Clean Gutters In Fall by My Gutter Doctor
Gutter Drip by My Gutter Doctor
Gutters Leaking At Seams by My Gutter Doctor
Loose Gutter Spikes by My Gutter Doctor
Vinyl Gutter Screen : Product Review by My Gutter Doctor
Downspout Clog Prevention by My Gutter Doctor
Fascia Board by My Gutter Doctor
NOW ON INSTAGRAM AND FACEBOOK
To check out high definition photos of our work please visit our INSTAGRAM or FACEBOOK pages. Unfortunately today’s web page load speeds have not caught up with the size of high resolution images. After more than a couple photos on one page the page begins to load too slow.
Therefore we started uploading our recent job photos to Instagram and Facebook since they are both great resources. They both offer infinite photo storage with no loss of image quality.
Feel free to give us a follow on either app to keep an eye out for coupons and promotional offers.
CHECK OUT OUR GOOGLE REVIEWS
CLICK HERE to check out our reviews on Google or to leave us a review.
CHECK OUT WHAT OTHER EXPERTS ARE ALSO SAY
How To Repair Roof Fascia by IKO
How To Replace A Fascia Board by Wikihow
Fascia Board and Soffit Board Replacement by Brothers Gutters
Fascia Board Replacement by FixR
How To Replace Fascia Board Behind Gutter by PJFitz
NEW LOCATION
93 Monocacy Blvd. A-6
Frederick, MD 21701
301-820-3209


